

For thousands of years, Kava has been consumed across the south pacific. Typically, this consumption would have been of fresh Kava that had been harvested very recently. With the invasion of modernity and the commercialization of Kava across the world, Kava has been dried and ground up for international consumption. The methods of preparation have changed as well, and depending on the type of kava chosen and the preparation equipment used, there are several different paths you can take to get the most potent kava you can.
This article outlines several different preparation methods and explains how to make kava in a variety of ways.
How to Make Kava
There are several different ways to make Kava. Depending on the format of the Kava, the preparation method is different. I’ve broken down the various formats and methods below.
Fresh Kava Root Preparation
Find a virgin, get her to chew on recently-dug up fresh kava root for the balance of the day while spitting out the liquid. Strain and drink that. Easy peasy.
In antiquity, and even in the present day in some islands on the south pacific, fresh Kava is consumed. The true classical way this was done was by having virgin women chew on the kava root, masticating it and spitting out the liquid, which was strained and drank.
Outside of perhaps a ceremony, this is almost certainly no longer done anywhere, though variations of it are likely still in effect in Vanuatu and Fiji.
Traditional Kava Root Preparation
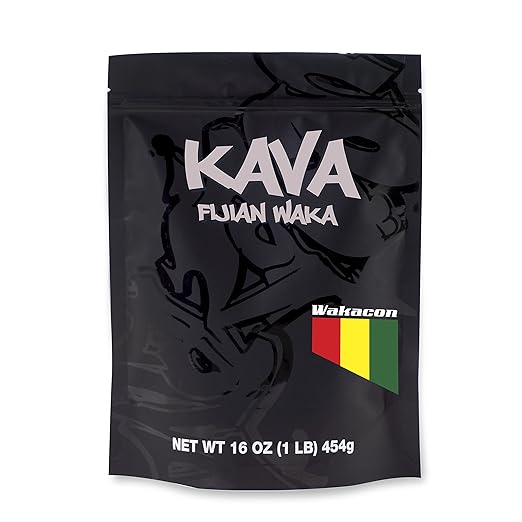
Traditional kava root is the most common format for kava to be sold in (for example, Wakacon’s Fijian Kava), at least among the reputable vendors. Over time, I wouldn’t be surprised if micronized becomes more popular, though.
This root has been ground somewhat coarsely and needs to be further processed in order to make a quality kava drink.
This format is generally cheaper per dose than a micronized kava, as it is more minimally processed. However, it requires a good deal more work preparation to brew than micronized does– at least if you do it the traditional way.
So what is the proper way to make traditional kava?
Crack those knuckles, as you’re going to be doing some work with your hands!
Tools You Need
You’ll need a large kitchen prep bowl and strainer bag of some sort for a traditional kava preparation. You can get a traditional strainer bag if you’d like. You can also use pantyhose as a strainer, and cheesecloth, though honestly cheesecloth should only be used in Kava Emergency situations, as there’s a good chance the cheesecloth will break.
Preparing Kava Root
To prepare a Kava the traditional way,
- Place two-four tablespoons of Kava in the strainer bag
- Twist the bag so that it is tightly secured
- Add approximately 1-2 cups of water, hot but not boiling, to the mixture.
- Insert the kava bag into the water and thoroughly wet the kava
- Pull the bag out of the kava, squeeze it tightly between your hands, kneed it, and add it back to the water.
- Repeat about 300 times, or for 10-15 minutes.
Over time, you’ll feel the texture of the kava on your hands change to be a bit less oily, and at that point your kava is ready.
Be sure to squeeze any last bits of liquid out of the kava bag, and set aside.
Drink the liquid, and perform the entire process again as a second wash, using the same kava root powder. This will allow you to get any additional kavalactones out of the kava, and ensure that it is completely done. At that point, you’ll probably have extracted all the potency, and if you want to go further, you’ll need to use different root.
Quantity Preparation
If you’re going to go this route, it’s generally best to make a much larger batch of root at a time, say 1/2 cup or more, depending on the size of your bowl.
You can see a video of this process here:
Blenders
Some find that adding the water and kava to a blender, and blending for 3-4 minutes prior to kneading cuts down on the kneading time, and makes good kava. It’s an optional step, and if you have a blender handy, it’s probably worth doing. When I was making traditional kava, I would blend it and let it sit for about 45 minutes before kneading.
Kava Adjuncts
Many people who make kava like to experiment with different adjuncts that may or may not increase the potency or flavor of kava. A few of the common ones are discussed here.
Milk/Coconut Milk
Adding milk or coconut milk to the water, or replacing the water entirely with coconut milk, is not uncommon. In theory, the fat in the milk will help extract the kava, though I never noticed any difference in potency when using these adjuncts.
Fruit Juice
Fruit juices are often added to kava in order to help mask the taste. It works, but I try to avoid carby juices in general, so it’s not something I do. If you are a juice person, go to town, it definitely helps with the flavor.
Generally, I chase my kava with carbonated water. I find that the carbonated water somehow overwhelms my taste buds, and overrides the kava flavor.
Soy Lecithin
Soy lecithin is a fat source that can be added to kava, which in theory aids in extraction, and therefore potency. When I was doing traditional kava preparations, I would add about 1 tbsp soy lecithin to the mixture, but honestly, I didn’t notice any potency difference.
It doesn’t really impart any significant taste to the kava, but it does change the texture a bit.
Try it if you want. It’s not going to hurt, but I don’t find that it really helps much either.
Kava Toss and Wash
There are some who use the kava toss and wash method to consume kava root. This involves consuming kava without straining.
Toss and Wash usually requires chewing and swallowing the root itself fibers (the makas) as well as the kava drink. This method may produce more powerful effects, but it often leads to dermopathy, allergic reactions, and stomach issues. See our article on the basics of Kava for more information.
I strongly suggest you stay away from toss and wash.
Micronized “Instant” Kava Preparation
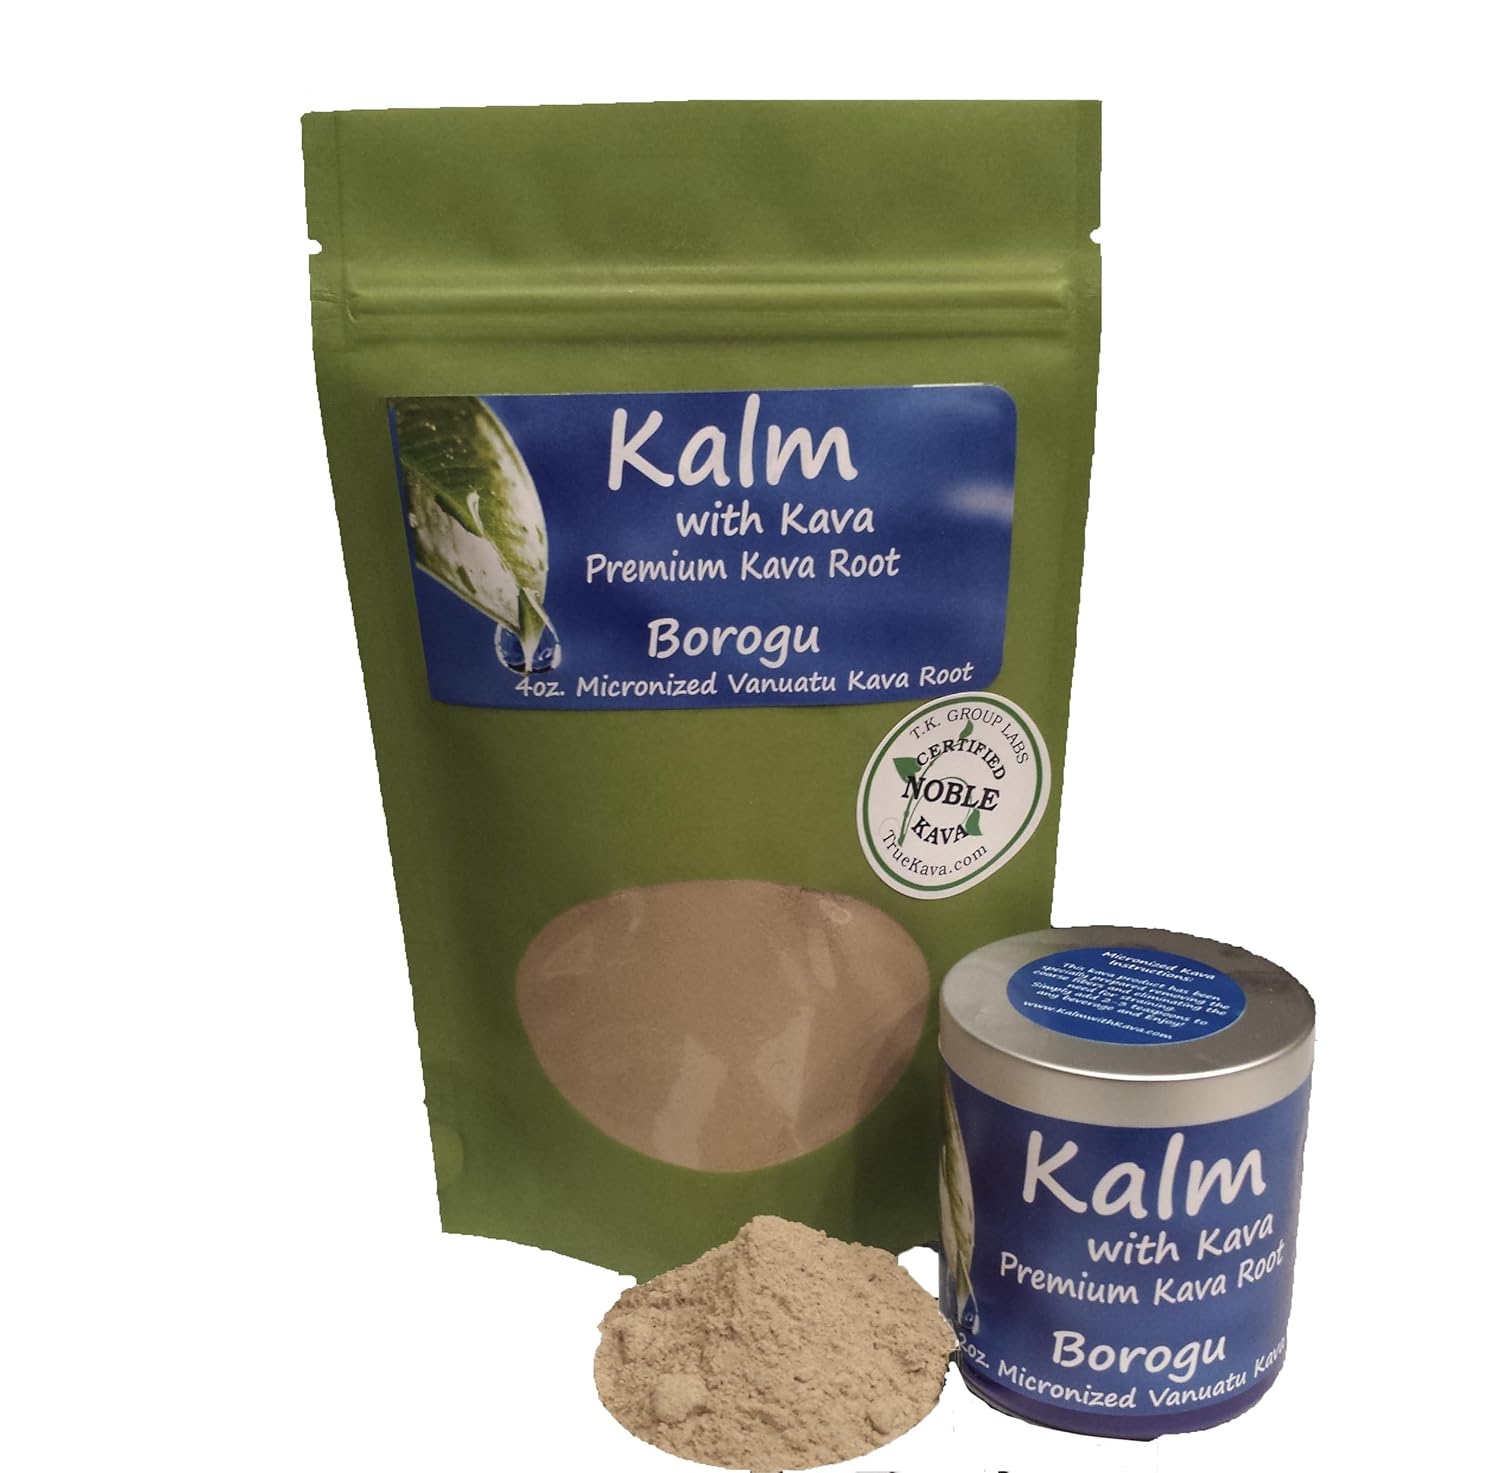
Micronized kava (such as Kalm with Kava’s Borugu) is a type of kava that has been ground extremely finely and is one of the easiest formats for kava consumption. It looks and functions very much like protein powder, and generally just needs to be mixed with water, and drunk.
It’s known as “Instant” kava because it is very quick to make, with no mess. The arduous kneading and straining process is eliminated, which is the main selling point for micronized kava.
- Measure out the appropriate quantity (usually 2-3 tsp)
- Add micronized kava to liquid (generally about 1 cup)
- Shake for a minute or so to dissolve the powder. If you can’t shake, stir, Mr. Bond.
- Bula! Drink up.
If you have a blender, you can use it to mix up the kava more thoroughly and completely.
Depending on the process of grinding the micronized Kava, there may still be some makas in the powder, which can potentially upset the stomach. Some like to strain their micronized kava, while others skip the straining.
If you have an Aluball (see my Aluball review for information), you can use it with micronized kava to act as a strainer as well. While the Aluball is typically used with traditional root, it will work with micronized kava, and will keep some of those undissolved bits out of your kava.
Kava Root Extract Preparation
Kava Root Extract is kava that has been processed into a tincture, generally using alcohol, but occasionally using water, CO2, or other methods. Overall, I’m not a fan of kava root extracts, as they are often low quality, with lower disclosure standards compared to other types of kava.
Additionally, the general consensus on mixing alcohol with kava is that it is unwise, and the extracts are often these sorts of mixes. However, often extracts are an introduction to the kava world, as they are generally somewhat available in natural food and vitamin shops.
- Using the dropper, gather approximately 1 full dropper full of kava root extract.
- Squirt the dropper into your mouth, and keep the liquid under your tongue for about 1 minute
- Swallow, and repeat if necessary
I largely ignore the kava extract market, though I have tried a few over the years. The now-defunct (unfortunately!) Paradise Kava had a great CO2 kava extract that I quite enjoyed. As far as I know, no one is currently producing CO2 extracts at this point.
Aluball Preparation
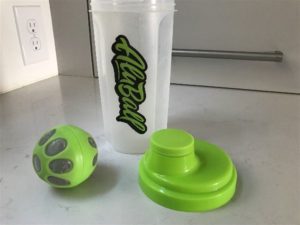
The Aluball is my preferred method of kava preparation. It is a great system that balances the positive aspects of traditional kava root with the ease of preparation of instant kava. The Aluball is a tea-infusion like system with a very fine mesh strainer ball inside a plastic, sealed vessel. Shake it up quite a bit, and you have a very high quality, potent drink with no mess and no long preparation time.
- Add two tablespoons of kava root to the aluball. Screw the top on.
- Add 1 cup hot, but not boiling, water to the aluball (I use my tap water on full heat).
- Shake the aluball for 1-2 minutes
- Pour out the drink, and off you go.
You can make a second and even a third wash with this method, to ensure that all of the kavalactone content is extracted from your root.
Filtering Kava
Most who are into kava are of the opinion that kava should be fully strained before consumption, with no chunks, or “makas”, in the concoction. This ensures the highest quality drink, and results in the least amount of stomach disturbance. It also reduces the likelihood of developing dermopathy, which is as positive.
Pre-Kava Fast
Perhaps the biggest impact you can make on the potency of your kava is by controlling your food consumption prior to the ingestion of the kava. It is best to fast for at least 5 hours before drinking your kava, and after you have your kava, stick with a fairly light meal.
I find that if I avoid kava for several hours before my kava session, the kava has a much more powerful impact than if I eat a short time before the kava. Certainly try doing a pre-kava fast before you bother with soy lecithin, coconut milk, and the like.
Kava Flavoring
Kava tastes awful, in case you’re wondering. Take some filtered mud, throw in some dirty dishwater, and you’ll get pretty much the flavor of kava.
As we mentioned above, many add fruit juices or coconut milk to mask the taste. Some add chocolate, peppermint, and other sweeteners to try to mask the taste. It probably helps, but I try to keep my carbs under control, so I generally skip those additives.
Soda Water
I find that chasing kava with some soda water works pretty well to mask the taste. There’s something about the sensation of the soda water bubbles in your mouth that overwhelms the taste buds, and kinda erases the flavor of the kava.
It’s worth trying, anyway.
Conclusion
With this, you should have the information you need to make high-quality kava, whether it’s a traditional root preparation, a micronized, or an Aluball preparation. Congrats, you now know how to make Kava!
Enjoy your Kava, and Bula!